Badminton Tutorial Program · Advanced
The Smash
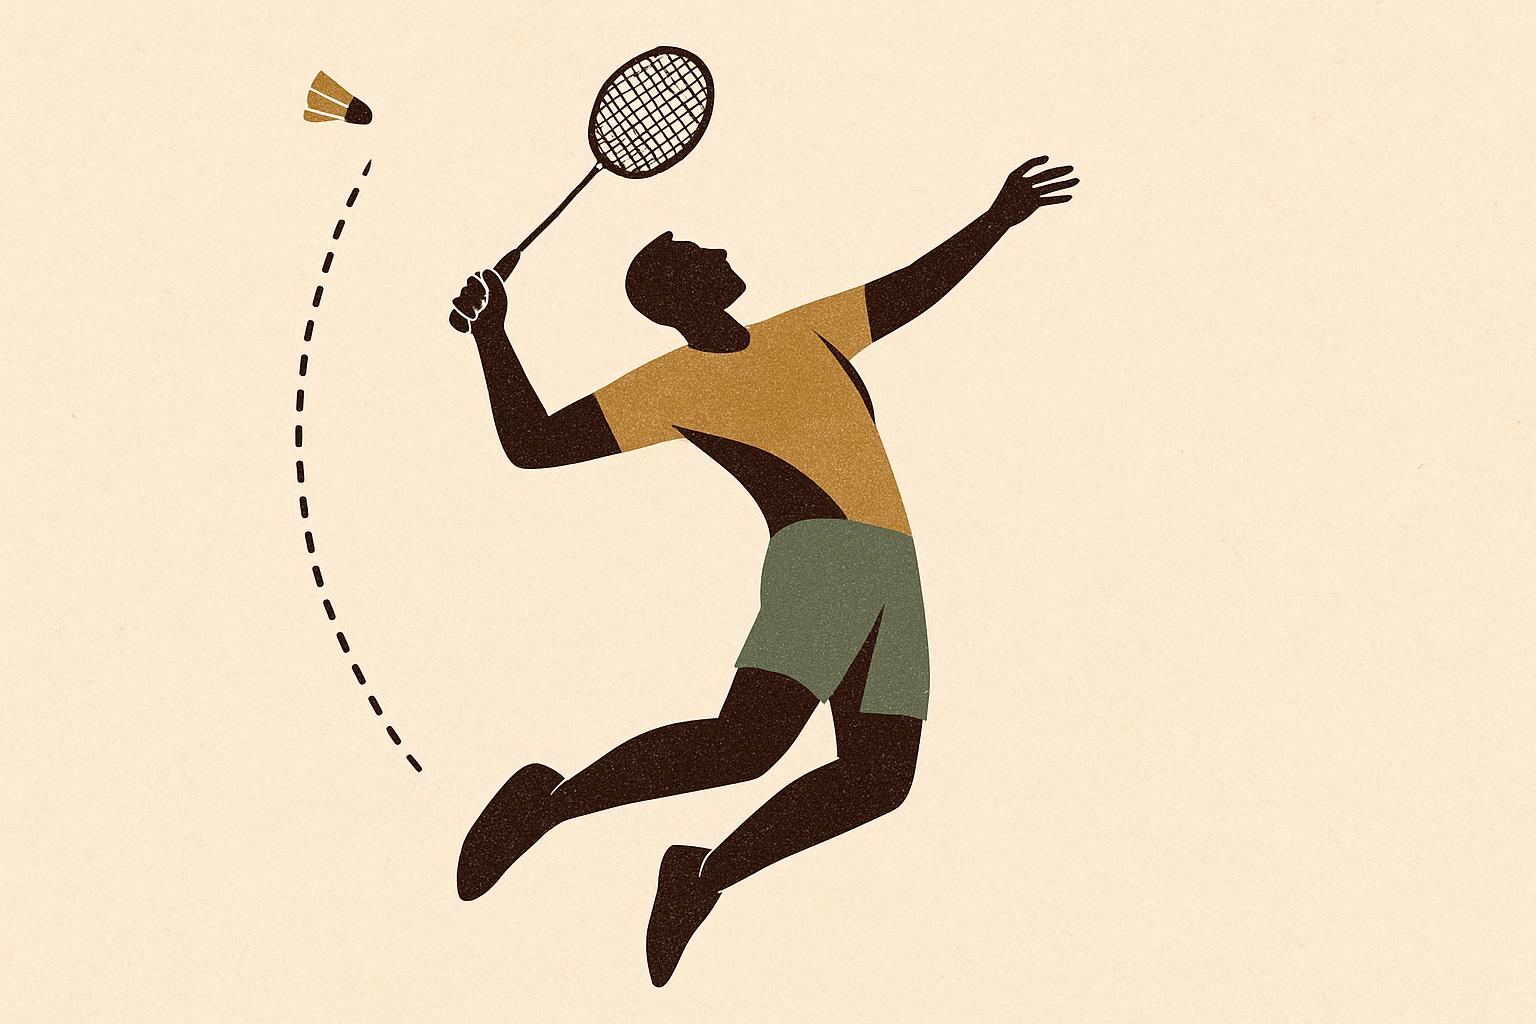
The smash is badminton's signature: the same throwing action as your clear, unleashed downward at the steepest angle you can generate. But advanced smashing is as much judgment as violence — elite players smash the RIGHT ball, from balance, to a target, and follow it in. This lesson builds the full-power smash and the decision-making around it.
One thing to master: smash STEEP, not just hard. A slower smash angled at the floor beats a flat rocket that arrives at chest height.
What you'll learn
- Full smash mechanics: legs, rotation, pronation, contact in front
- Steepness beats speed: choosing angle over ego
- Placement: the three targets that win rallies
- When NOT to smash — balance, position, and shuttle height
The technique
The mechanics
Everything from the clear (Lesson 6), turned up: get behind the shuttle, sideways stance, elbow high. Drive up through the legs, rotate hips then shoulders, elbow leads, and the forearm PRONATES violently through contact — that rotation, not arm strength, is where racket-head speed lives. Contact is at full stretch, IN FRONT of your body, so the shuttle is hit downward.
Steep beats fast
Contact further in front = steeper angle = the shuttle meets the floor sooner. A three-quarter-pace smash that lands mid-court on the floor wins the rally; a full-power smash arriving flat at your opponent's chest hands them a counter-drive. Jump smashes exist precisely to buy MORE steepness, not more speed.
The three targets
1) The lines — away from both defenders in doubles. 2) The BODY, at the racket-side hip, where defence is mechanically awkward. 3) The gap between two doubles defenders, which forces a decision (and Lesson 16 covers who should have taken it). Pick a target before the shuttle drops; smashing 'hard at nothing' is how attacks die.
The discipline
Smash when the shuttle is in front of you and you're balanced. From the deep rear court, off-balance, or against a very high tight lift — clear or drop instead, and manufacture a better chance. An attack sustained over three shots beats a spectacular one-shot miss.
Drills to practice
- Target smashing: cones on the sidelines and the mid-court centre; 10 smashes per target from a partner's lift
- Steepness ladder: smash from progressively closer lifts, requiring each to land before the front service line's shadow zone
- Smash-and-follow: smash, then move in for the block reply and kill it — the two-shot pattern that ends most rallies
Common mistakes
- Smashing off the back foot from the deep court (flat, weak, and you're stranded)
- Full power at every opportunity instead of angle and placement
- No follow-up — a smash without moving in wastes the weak reply it forces
References
- BWF Shuttle Time — official BWF teaching programme (technique modules) — shuttletime.bwfbadminton.com/
Rule statements in this lesson were validated against the BWF Laws of Badminton (Statutes Section 4.1, current edition) and BWF announcements. Technique and drill guidance follows the BWF Shuttle Time framework and widely taught club coaching practice.