Badminton Tutorial Program · Basic
The Clear
The clear — hit high and deep to your opponent's back line — is your first overhead and quietly your most important one, because it teaches the throwing action that the drop (Lesson 7) and the smash (Lesson 9) reuse identically. A player who can clear baseline-to-baseline at will controls the pace of every beginner and intermediate game.
One thing to master: the throwing action. If you can throw a ball far with a whip, you can clear — same arm, same rotation, racket instead of ball.
What you'll learn
- The overhead throwing action, from sideways stance to full rotation
- Defensive clears (high, buying time) vs attacking clears (flatter, rushing them)
- Contact point: high and slightly in front
- Getting BEHIND the shuttle before you swing
The technique
Turn sideways
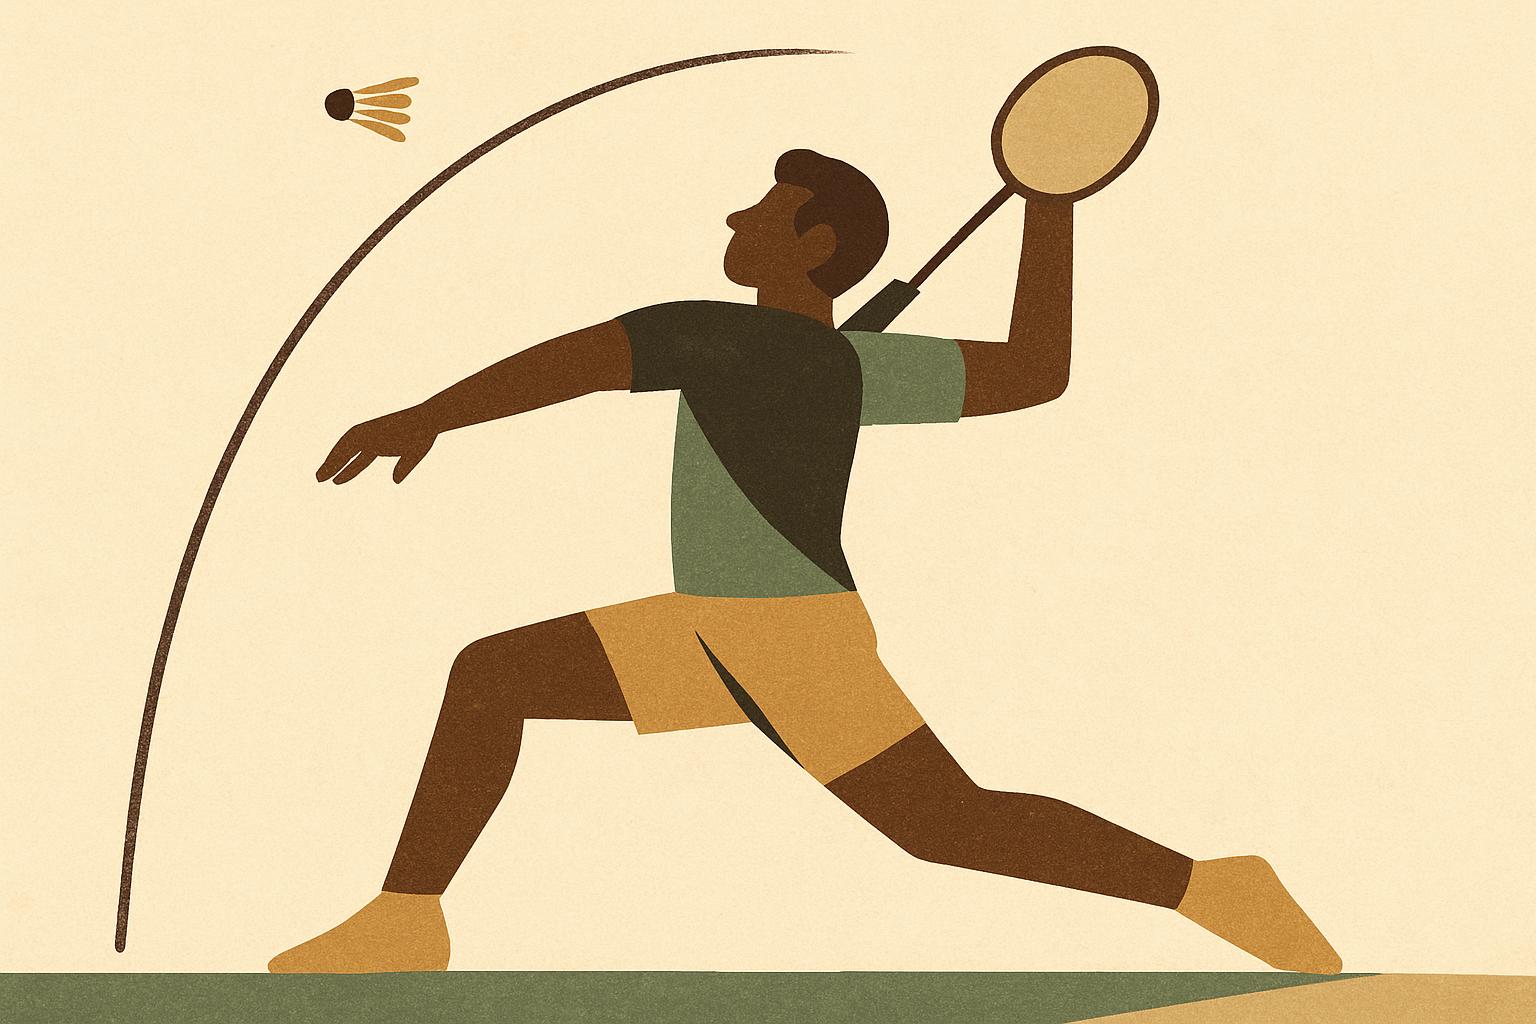
As the shuttle goes up, turn your body side-on: non-racket shoulder and arm pointing at the falling shuttle, racket arm cocked with the elbow high — the exact posture of throwing a ball far.
Throw the racket head
Drive the motion from legs and trunk rotation, elbow leading, forearm rotating through contact — the same kinetic chain as a throw. The racket head should accelerate THROUGH the shuttle, not push at it. A relaxed grip that firms at impact adds effortless metres.
Contact high, slightly in front
Meet the shuttle at full reach, marginally in front of your shoulder. Contact behind your head sends everything flat and short — the number-one reason club clears die at three-quarter court.
Two clears, two jobs
The DEFENSIVE clear goes very high and lands on the back line: it buys you seconds to recover. The ATTACKING clear is flatter and faster, just above your opponent's reach: it rushes a player who has crept forward. Learn the defensive one first; add the attacking one when your depth is reliable.
Drills to practice
- Clear-clear rallies: baseline to baseline with a partner, 20 in a row landing behind the doubles long-service line
- Throwing practice: literally throw shuttles for distance with the full sideways action — the motion transfers
- Depth ladder: clears past the front of the back alley = 1 point, into the alley = 3; play to 21
Common mistakes
- Facing the net square-on and 'arm-only' swinging — no rotation, no depth
- Letting the shuttle drift behind your head before swinging
- Clearing to three-quarter court, which is a smash invitation at every level above beginner
References
- BWF Shuttle Time — official BWF teaching programme (technique modules) — shuttletime.bwfbadminton.com/
Rule statements in this lesson were validated against the BWF Laws of Badminton (Statutes Section 4.1, current edition) and BWF announcements. Technique and drill guidance follows the BWF Shuttle Time framework and widely taught club coaching practice.